How to set up Microsoft SQL 2000 Client Network Utility
You will need to go to the SQL Server Client Network Utility. To get there you will need to click on the Start button, then go to Programs, then to Microsoft SQL Server, then to Client Network Utility (as shown below)
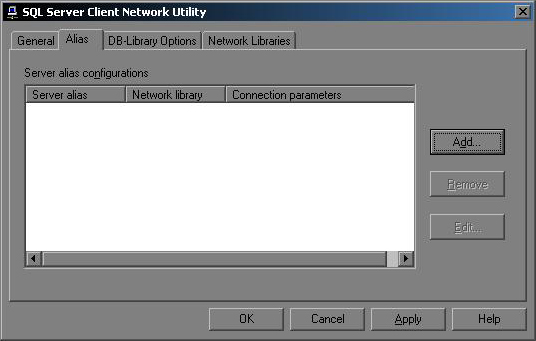
You must create a Server Alias using Client Network Utility before creating your SQL Database connection. When you open Client Network Utility, select the Alias tab, as shown below...
Press Add... and then select the TCP/IP radio button, as shown below...
Enter the name of your Database in the Server alias: text box. Under the Connection parameters section, enter the IP Address of the server where your SQL Database is located in the Server name: text box. Make sure you do not select the checkbox for Dynamically determine port; instead, enter the port number that was specified in the SQL Database confirmation response in the Port number: text box. See the example below for further details...

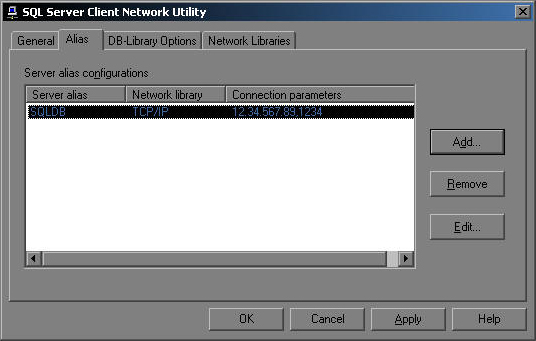
After you have done entered the appropriate information, press OK and the window should now look like this...
Press Apply, then OK, and you're now ready to setup the connection to your SQL Server Database through Enterprise Manager!